

DreamHost, founded in 1999, is a hosting provider based in the United States. To date, they have hosted over 1.5 million websites for more than 400,000 users. DreamHost offers a range of services, including domain registration, virtual hosting (including specialized WordPress hosting with advanced optimizations), VPS, VPS Cloud, cloud storage, and dedicated servers. Additionally, DreamHost has been a recommended hosting provider for the popular open-source platform WordPress for many years.
WordPress is the preferred choice for building foreign trade independent websites, and DreamHost is one of the three hosting service providers recommended by WordPress. So, can you use DreamHost hosting to build your foreign trade website with WordPress? The answer is a definite yes. There are no issues when using DreamHost hosting for foreign trade website development.
Official Website Click to visit the DreamHost official website.
DreamHost Domain Binding Tutorial To start building your website on DreamHost hosting, you first need to bind your website’s domain to DreamHost. Depending on whether the domain is registered with DreamHost, there are two scenarios for domain binding.
- If the domain is registered with DreamHost: Binding the domain in this case is straightforward because DreamHost’s backend will automatically add the domain and configure DNS settings to point to the corresponding hosting. You don’t need to do much in this scenario.
- If the domain is not registered with DreamHost: If your website’s domain is registered with another platform (which is the most common scenario), you’ll need to bind the domain to your hosting on DreamHost and set up DNS records.
Here are the steps:
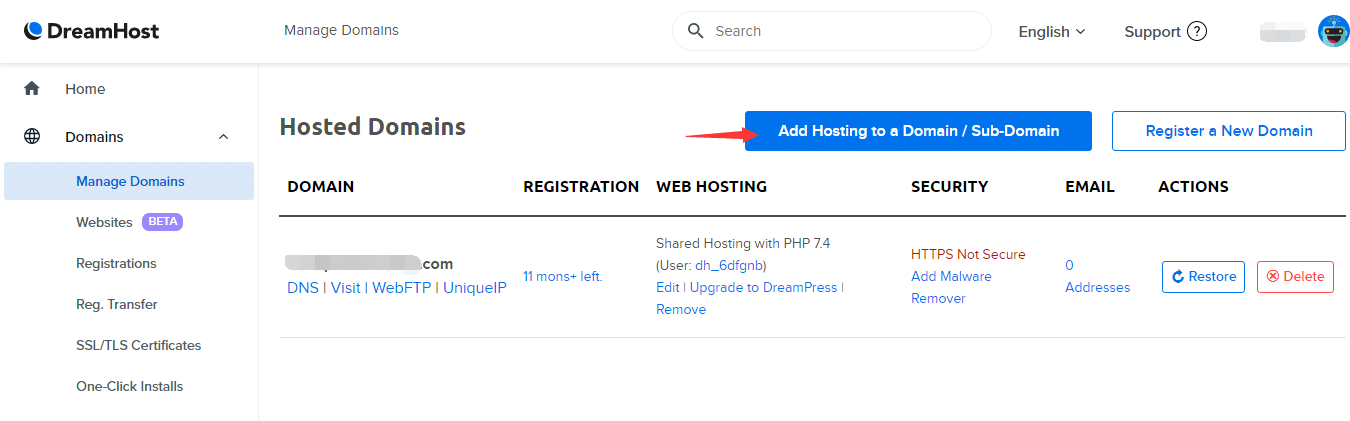
Step 1: After logging into the DreamHost hosting control panel, navigate to “Domains” in the left-hand menu and select “Manage Domains” from the submenu. Here, you’ll see a list of domains that have already been added. The domain listed here is the one that was registered for free when you purchased the hosting. Click on “Add Hosting to a Domain/Sub-Domain” to proceed.
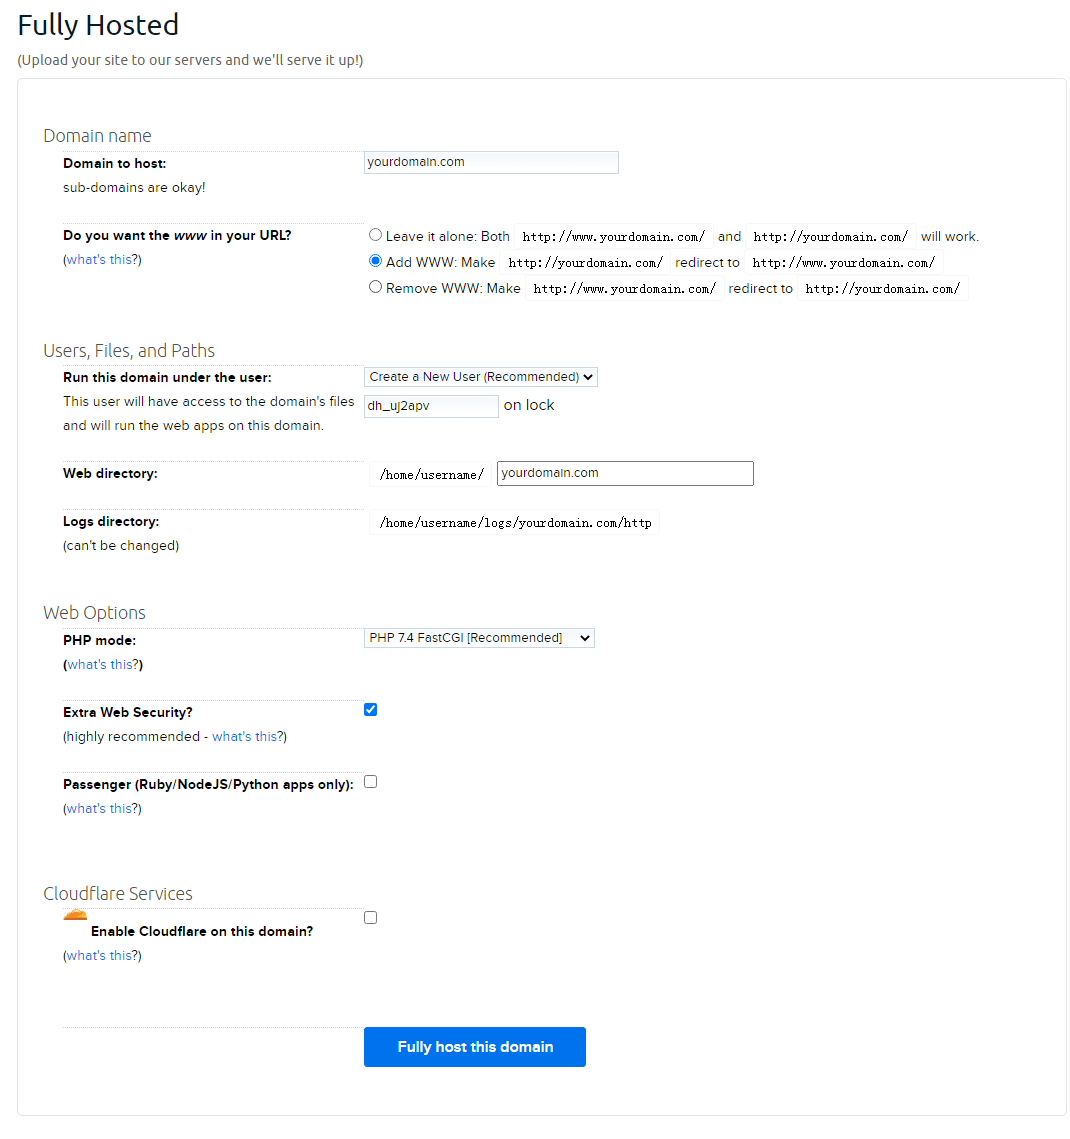
Step 2: Fill in the domain you want to add and make the necessary settings. In the “Domain to host” field, enter the domain you wish to bind (e.g., yourdomain.com). “Do you want the www in your URL” refers to whether you want to include the www prefix in your domain. Choose as per your preference. “Users, Files, and Paths” allows you to set up user, file, and path settings for the domain binding. For the other options, you can usually stick with the default settings. Finally, click “Fully host this domain” to add the domain.
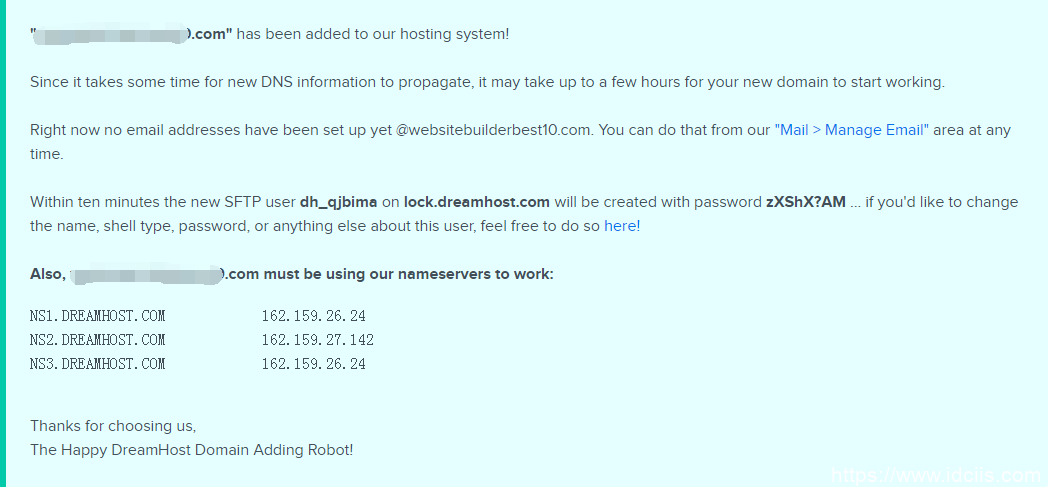
Step 3: After adding the domain, you’ll need to configure DNS records to ensure proper website functionality. Users should follow the provided hosting DNS information to set up the domain’s DNS records.
DreamHost Domain Management In the DreamHost hosting domain management panel, you can perform various actions related to the domains you’ve added, including deletion (“Delete”).

Once you’ve successfully added and configured the domain, you can start building your website using your domain.